How to Create a WordPress Form with Payment Options from PACS
The easiest way to create a simple WordPress payment form is by using WP Simple Pay.
WP Simple Pay is a Stripe payment plugin for WordPress that lets you accept credit card payments, Apple Pay, Google Pay, and more without having to install any special eCommerce plugins.
This free plugin is perfect for non-profits, small businesses, volunteers, and anyone who wants to collect payments without having to invest in advanced eCommerce plugins.
For this guide, we will be using the free version of WP Simple Pay since it has everything you need to start accepting payments online. There’s also a pro version that lets you accept payments using ACH direct debit, set up a recurring payment plan, add a buy now pay later plan to WordPress, and much more.
First, you’ll need to install and activate the WP Simple Pay plugin.
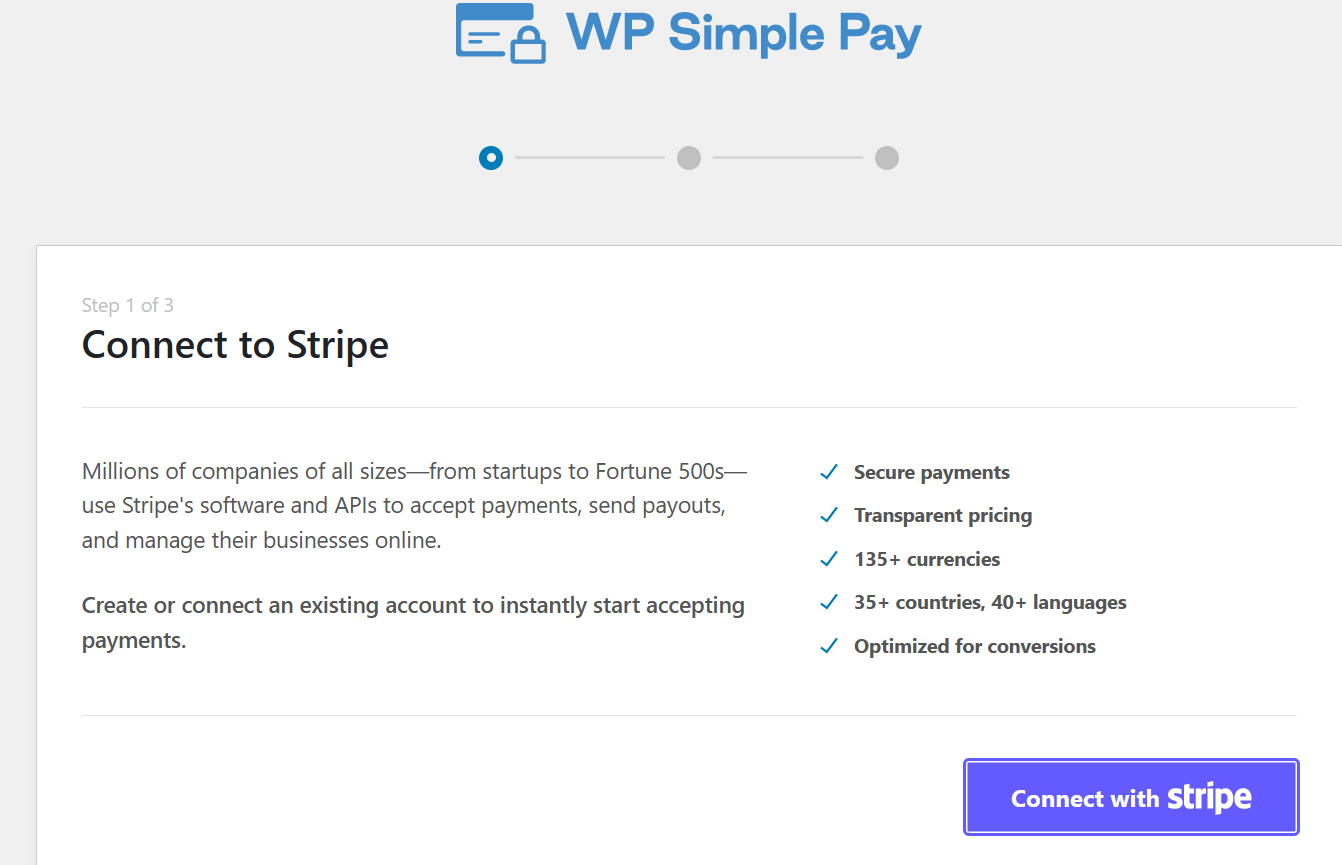
Upon activation, the plugin will automatically launch the setup wizard.
In the next step, you’ll need to connect a Stripe account to WP Simple Pay. Stripe is a beginner-friendly payment processor for website owners.
To get started, click on the ‘Connect with Stripe’ button.
After that, you can either log into an existing Stripe account or create a new one.
If you’ve already registered with Stripe, then simply type in the email address and password for that account.
WP Simple Pay will now show you how to connect your Stripe account to WordPress.
If you’re not already registered with Stripe, then type in your email address and then follow the onscreen instructions to create your free Stripe account.
Once you’re logged into a Stripe account, go ahead and click on ‘Create a Payment Form.’
If you’ve clicked away from this screen by accident, then don’t worry. You can reach the same screen by going to WP Simple Pay » Add New in the WordPress dashboard.
The free WP Simple Pay plugin has a few different payment templates that can help you create different kinds of payment forms within minutes. You can unlock extra templates by upgrading to WP Simple Pay Pro, including a template that adds a Stripe donate button in WordPress.
Since we want to create a simple WordPress payment form, hover over the ‘Payment Button’ template and then click on ‘Create Payment Button’ when it appears.
In the ‘Title’ field, type in a name for your payment form. This title is just for your reference so you can use anything you want. Notice that you will see an SSL warning message. You will need to add an SSL certificate to your website in order to use Stripe to process payments.
You can also use the ‘Description’ field to add some information about your payment form. Again, WordPress won’t show this to your site’s visitors but it can be useful for your own reference or for anyone else who shares your WordPress dashboard.
After that, click on the ‘Payment’ tab.
By default, WP Simple Pay will create your payment form in test mode, meaning you can’t accept payments from visitors.
We recommend leaving the ‘Global Settings (Test Mode)’ radio button selected, so you can test how the form works before you start accepting payments from visitors.
Next, you can decide how much you’ll charge visitors by typing a number into the ‘One-Time Amount’ field.
Note: By default, WP Simple Pay uses the dollar currency. If you want to accept payments in any other currency, then simply head over to WP Simple Pay » Settings. You can then select the ‘Currency’ tab and choose a new currency.
After you’ve done that, select the ‘Form Fields’ tab.
By default, your button will have the label ‘Pay Now’, but you can change this to anything you want by typing into the ‘Button Text’ field. We are using “Send Us a Tip” since this is an optional payment.
You can also change the ‘Button Processing Text,’ which is the message that WP Simple Pay will show to shoppers while it’s processing their payment.
Again, since this is an optional payment form you might use something that reflects this, such as ‘We’re processing your donation.’
By default, WP Simple Pay will use the same button style as your WordPress theme. It also has a ‘Stripe blue’ style that you can use, as you can see in the following image.
If you want to use this button style, then simply select the ‘Stripe blue’ radio button in the ‘Payment Button’ section.
After that, select the Stripe Checkout tab and choose the information that WP Simple Pay will collect from visitors at checkout.
For example, if you’re selling a physical product then you’ll want to check the ‘Collect Shipping Address’ box.
As you’re working on the payment form, you can preview how it looks at any point simply by clicking on the ‘Preview’ button.
This opens the payment form in a new tab, in exactly the same way you preview posts and pages in the standard WordPress editor.
When you’re happy with how the payment form looks, go ahead and make it live by clicking on the ‘Publish’ button.
You can now add the payment form to any page, post, or widget-ready area using the value in ‘Form Shortcode.’
If you published the form in test mode, then the Stripe dashboard doesn’t show any payments you get during this time, which makes it difficult to test your optional payment form.
To see your transactions, you’ll need to activate test mode in Stripe by logging in to your Stripe dashboard and then selecting the ‘Payments’ tab.
Here, simply hover your mouse over the optional payment form, and click on the ‘Edit’ link.
You can now go ahead and select the ‘Payment’ tab, and then click on the radio button next to ‘Live Mode.’
Finally, click on ‘Update.’ Your payment form is now live, and you’re ready to start accepting money from your audience.
Resources:
This session was taken largely from a blog post originally appearing on WP Beginner. The link is shown below.
How to Create a WordPress Form with Payment Options (Easy Way) (wpbeginner.com)https://www.wpbeginner.com/plugins/how-to-create-wordpress-forms-with-a-payment-option/


