Can ChatGPT Outline My Presentation?
I recently put together a presentation for the WordPress SIG of the Philadelphia Area Computer Society (PACS) on the topic of RSS Feeds. On a whim I decided to try to see what ChatGPT would come up with if I asked it about the subject of the presentation. Could it outline a presentation for me?
This post shows what it came up with. I was impressed.
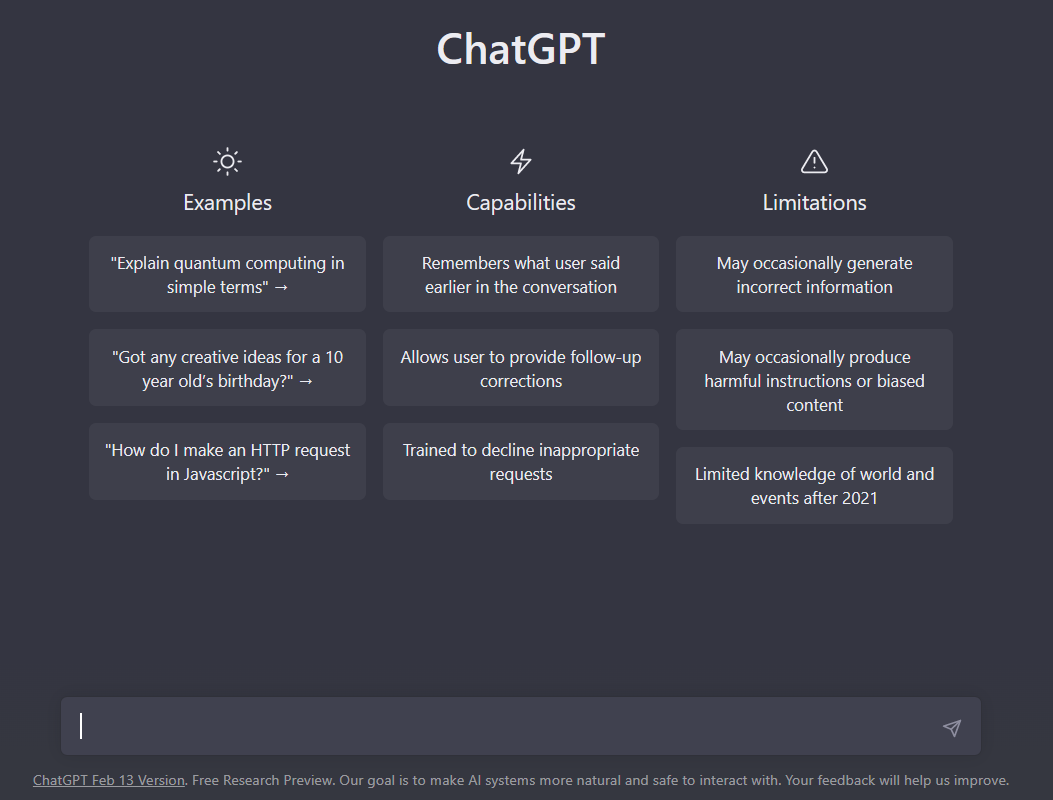
Here is the starting screen once you are logged into https://chat.openai.com/chat.
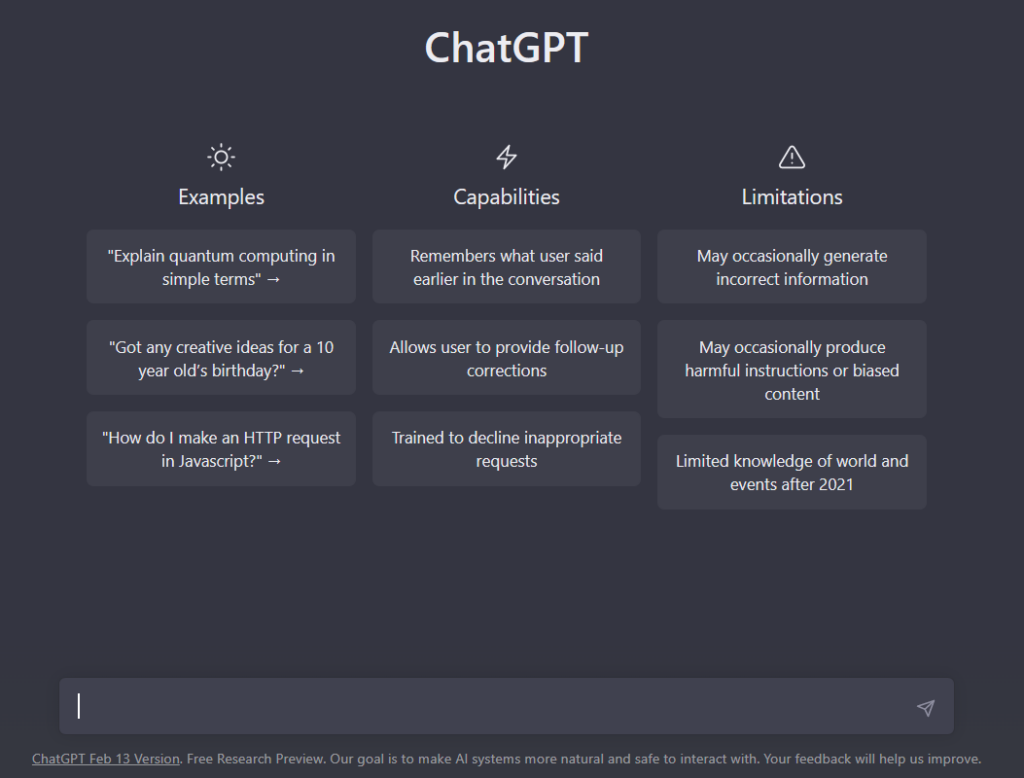
The blank chat bar can be somewhat intimidating. Not much to go on. I entered:
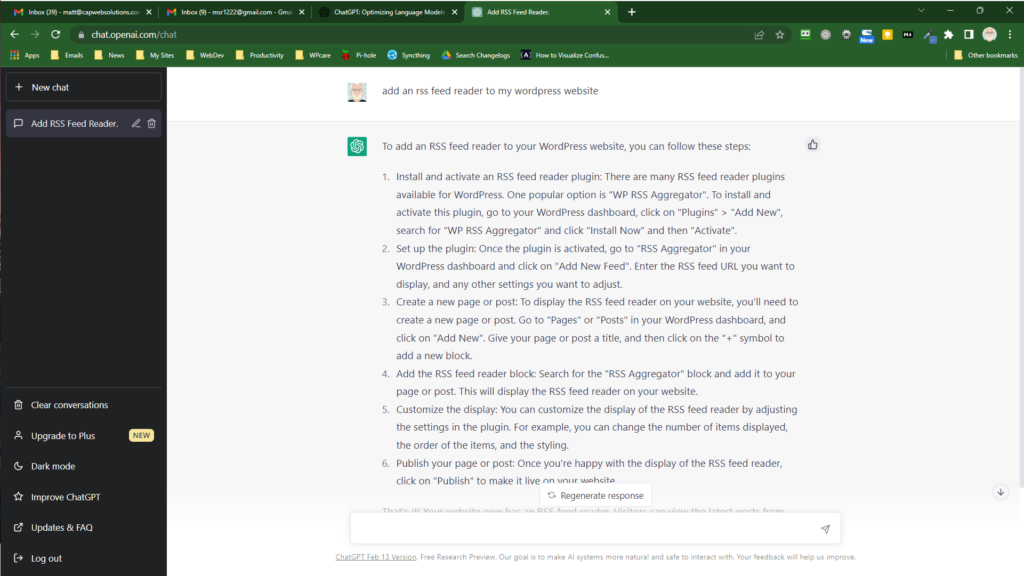
Add an RSS feed reader to my WordPress website
The response I received was typed out on the screen. I have included a screenshot of it at the bottom of this post.
Yes, ChatGPT’s response did include the numbered list and the “That’s it!” at the end. How cool is that?
To add an RSS feed reader to your WordPress website, you can follow these steps:
- Install and activate an RSS feed reader plugin: There are many RSS feed reader plugins available for WordPress. One popular option is “WP RSS Aggregator”. To install and activate this plugin, go to your WordPress dashboard, click on “Plugins” > “Add New”, search for “WP RSS Aggregator” and click “Install Now” and then “Activate”.
- Set up the plugin: Once the plugin is activated, go to “RSS Aggregator” in your WordPress dashboard and click on “Add New Feed”. Enter the RSS feed URL you want to display, and any other settings you want to adjust.
- Create a new page or post: To display the RSS feed reader on your website, you’ll need to create a new page or post. Go to “Pages” or “Posts” in your WordPress dashboard, and click on “Add New”. Give your page or post a title, and then click on the “+” symbol to add a new block.
- Add the RSS feed reader block: Search for the “RSS Aggregator” block and add it to your page or post. This will display the RSS feed reader on your website.
- Customize the display: You can customize the display of the RSS feed reader by adjusting the settings in the plugin. For example, you can change the number of items displayed, the order of the items, and the styling.
- Publish your page or post: Once you’re happy with the display of the RSS feed reader, click on “Publish” to make it live on your website.
That’s it! Your website now has an RSS feed reader. Visitors can view the latest posts from your RSS feed right on your website.
While I don’t think the the AI robot was as personal as I was, I do think the content was sufficient for the audience.
Here is a link to the original post on my PACS presentation. Enjoy!